How to make a trap beat in FL Studio 24 step by step

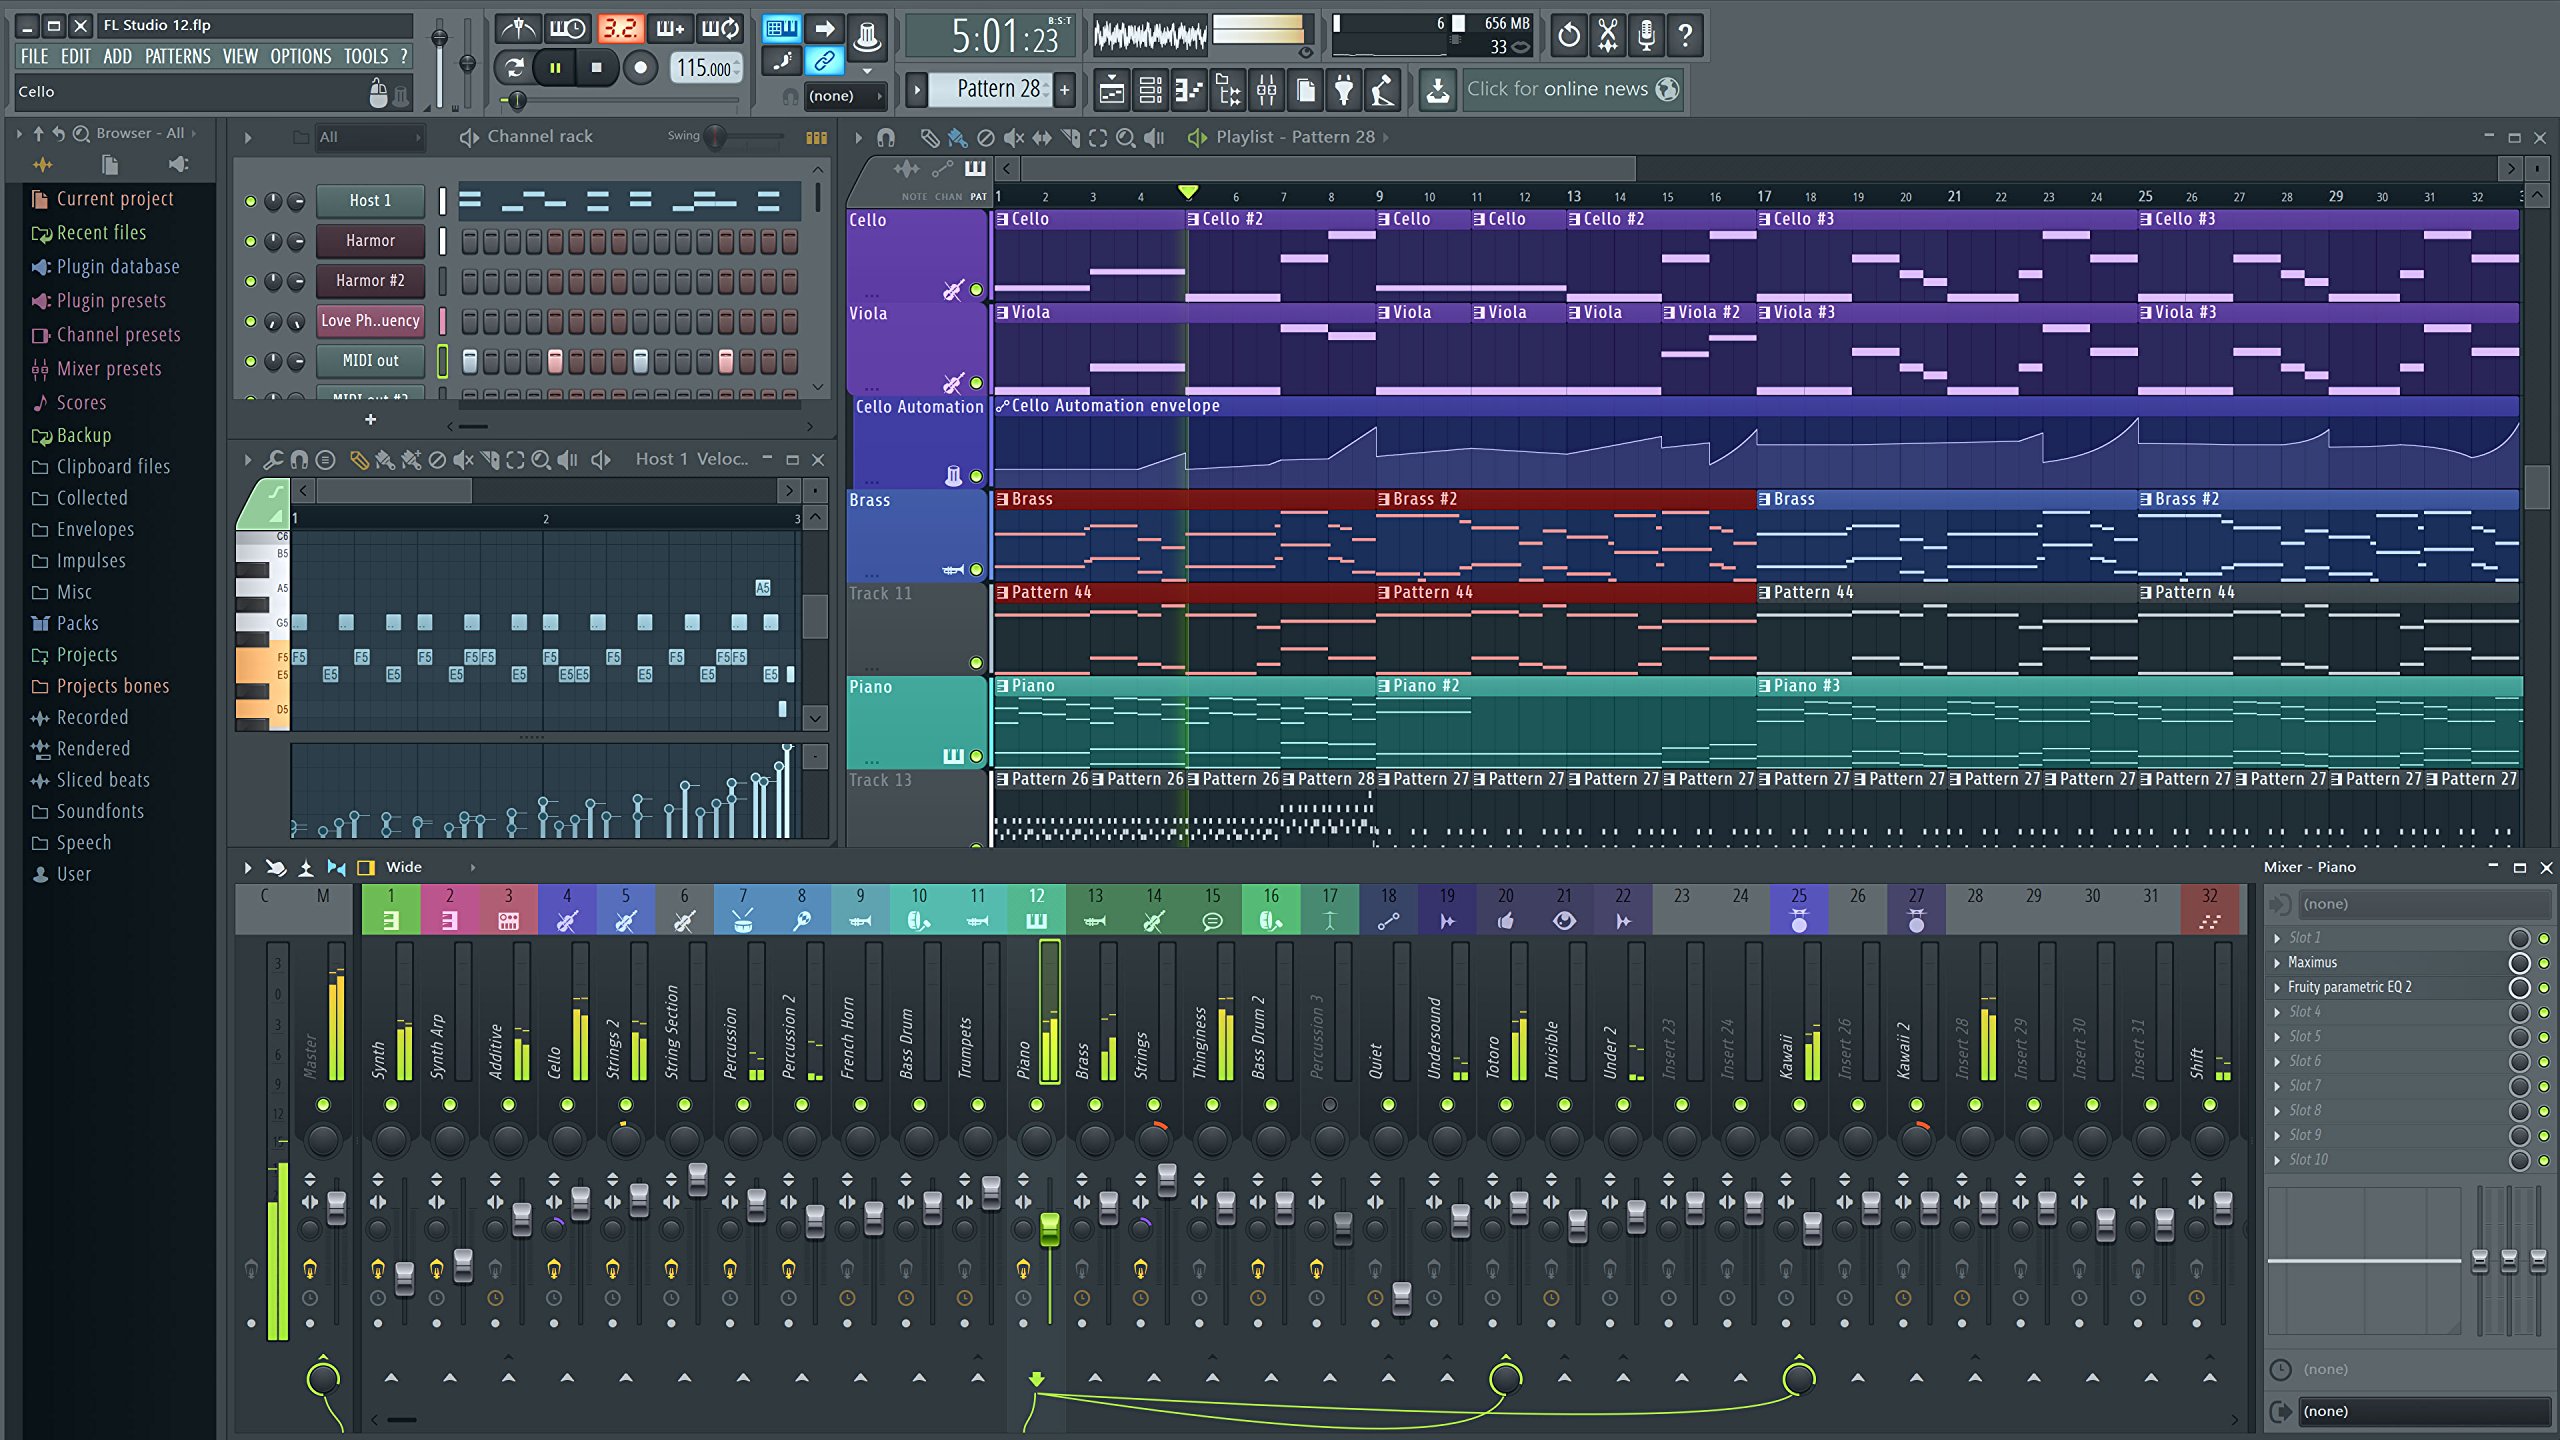
FL 24’s revamped sequencer and enhanced stock plugins provide everything needed to construct a bass-heavy, rhythm-driven instrumental. The key lies in manipulating 808s, sharp hi-hat rolls, and dark melodies while leveraging the DAW’s workflow optimizations for faster execution.
Start by setting the project tempo between 140-160 BPM–this range ensures the right balance of aggression and groove. Load a punchy 808 sample into the Channel Rack, then open the Piano Roll to program a minimal yet impactful pattern. Focus on the root note and fifth intervals to maintain weight without muddiness.
Layer crisp, staggered hi-hats using the Fruity Delay 3 for controlled spacing. Adjust the Time knob to 1/3 or 1/6 for triplet-based movement, a staple in modern trap rhythms. Combine this with a snare on the third beat and claps slightly offset for texture.
Crafting a Hard-Hitting Trap Instrumental in FL Studio 24
Start by setting the tempo between 130-150 BPM. Trap relies on aggressive rhythms, so adjust the grid to 1/3 or 1/6 for triplet-based patterns.
- Lay the foundation with 808s: Load a punchy 808 sample (e.g., “Zay 808” or “Spinz 808”) into FPC or Sampler. Enable slide notes for glides by right-clicking the piano roll note and selecting “Slide.”
- Program the hi-hat rolls: Use closed hats (e.g., “Lex Luger Hat”) in the Channel Rack. Set the swing to 50-60% in the toolbar. Alternate between 1/8 and 1/16 notes with occasional 1/32 bursts.
- Add percussive layers: Layer snares (e.g., “Metro Boomin Snare”) with claps on the 2nd and 4th beats. Include ghost snares at lower velocities for groove.
- Route all drum channels to a single mixer track and apply Fruity Limiter with soft clipping.
- Insert Gross Beat at 50% mix on the hi-hats for rhythmic variation.
- Automate the 808 pitch bends by drawing curves in the event editor.
For melodies, use minor scales (Phrygian or Aeolian mode) in Harmor or Sytrus. Apply heavy portamento on leads and detune stacked supersaws by +/-10 cents for width.
Setting Up the Project Tempo and Key
Launch FL 24 and create a new project. The default tempo is 140 BPM, but for this style, set it between 130-150 BPM for optimal groove. Adjust using the BPM selector in the toolbar or double-click to type a precise value.
Define the musical key early to maintain harmony. Open the Piano roll and enable the Highlight scale feature (Alt+S). Common choices include F minor or C# minor for darker tones. Stick to minor scales unless experimenting with melodic variations.
Enable the metronome (Ctrl+M) to stay on rhythm while arranging. For tighter timing, reduce the Snap setting to 1/4 or 1/8 notes in the toolbar. If you’re new to FL, grab the latest version via fl studio free download to access these features.
Save the project immediately (Ctrl+S) with a clear name like “Project_140BPM_Fmin” to avoid confusion later. Use the Time markers (Alt+T) to section off intro, verse, and hook segments if structuring early.
Programming the Kick and Snare Pattern

Start by loading a punchy 808 kick into the Channel Rack. Set the pitch between 40-60Hz for optimal low-end impact. In the Piano Roll, place hits on beats 1 and 3 for a foundational rhythm. Layer a second, shorter kick with slight pitch decay at the same positions to enhance attack.
Snare Placement & Variation
Choose a crisp snare with minimal tail–samples like the Lex Luger snare work well. Position hits on beats 2 and 4, then offset every second snare by 5-10ms for a looser feel. Add ghost notes at 1/8th note intervals between main hits, reducing velocity to 20-30% for subtle texture.
Dynamic Tweaks
Apply sidechain compression from the kick to the bassline, setting a 4:1 ratio with 15-20ms release. Boost the snare’s midrange at 1.5-3kHz using an EQ to cut through the mix. For variation, automate the kick’s pitch down by 3-5 semitones on every fourth bar.
Adding Hi-Hats with Rolls and Variations
Layer short and open hi-hats for dynamic contrast. Use closed hats (e.g., 1/16th notes) as a base, then introduce open hats on offbeats for swing. Adjust velocity between 70-90% to avoid robotic timing.
Rolls work best at 1/32nd or 1/64th note resolution. In the Piano Roll, draw 3-5 rapid consecutive notes, decreasing velocity by 10% per hit. Pair rolls with kicks or snares for syncopation.
Pan hi-hats slightly (5-10% L/R) for width. Apply a high-pass filter at 8-12kHz to remove low-end clutter. Use Fruity Delay 3 with dry mix at 85% and feedback at 15% for subtle echoes.
Create variation by alternating patterns every 4-8 bars. Shift one hi-hat hit forward by 10-20 ticks in the Piano Roll to break monotony. Experiment with pitch automation (+/- 100 cents) on select hits.
For swing, adjust the shift knob in the channel settings (25-40% for trap grooves). Layer a second hi-hat with a 5-10ms delay for thickness.
Creating a Bassline with 808s
An impactful bassline drives the energy in modern hip-hop and electronic productions. The 808 kick remains a staple for deep, punchy lows–here’s how to shape it effectively.
Key Techniques:
- Tuning: Match the 808’s root note to your track’s key. Use Edison or a tuner plugin to verify pitch.
- Envelope Control: Short decay (150-300ms) for tight rhythms; longer decay (500ms+) for sustained slides.
- Distortion: Apply Soft Clipper or Fruity WaveShaper to add harmonics without clipping.
| Parameter | Recommended Setting | Effect |
|---|---|---|
| Attack | 0-5ms | Instant punch |
| Sustain | 0% | Sharper tail |
| Pitch Modulation | +12 to +24 st (initial) | Adds knock |
Pattern Tips:
- Place 808s on beats 1 and 3 for a classic groove; syncopate offbeats for bounce.
- Use slide notes (portamento) between pitches–enable in the Channel Rack’s settings.
- Layer a short sine wave (100Hz) under distorted 808s for cleaner sub-bass.
Mixing: Cut frequencies below 30Hz with EQ to save headroom. Sidechain the bass to kicks using Fruity Limiter for dynamic separation.
Layering Melodic Elements (Pads, Plucks, or Keys)
Effective layering enhances depth and movement in your composition. Combine contrasting timbres–pair bright plucks with warm pads or sharp keys with airy textures. For example, layer a sine-based pluck with a detuned saw pad to fill the midrange while keeping highs crisp.
Frequency Separation & EQ
Cut lows below 200Hz on pads to avoid muddiness, while boosting plucks around 1-3kHz for clarity. Use a spectrum analyzer to identify overlapping frequencies–reduce conflicting areas by 2-4dB with a narrow Q. Pan elements slightly (10-20% L/R) to create space.
Modulation & Movement
Automate a low-pass filter on pads with 1/8 note LFO modulation for rhythmic pulsation. Add subtle pitch bends (+/- 50 cents) to plucks for organic variation. Stack short decay keys with long-release layers, then sidechain them to the kick for dynamic groove.
Mixing and Processing for a Clean Trap Sound
To achieve a polished, professional mix, focus on balancing frequencies, enhancing dynamics, and applying precise effects. Below are key techniques:
- Level Balancing
- Set kick volume between -6dB and -3dB for headroom.
- Layer snares and claps, keeping the loudest element at -8dB.
- Ensure hi-hats sit 3-6dB below the snare.
- EQ Adjustments
- Cut sub-bass below 30Hz to reduce mud.
- Boost kick around 60-80Hz for punch.
- Attenuate 250-500Hz in melodies to avoid clashes.
- Add air to hats with a high-shelf at 12kHz.
- Compression & Transients
- Use fast attack (10-30ms) on kicks to preserve impact.
- Apply 4:1 ratio with 2-3dB gain reduction on 808s.
- Layer a transient shaper on snares (+3dB attack).
- Spatial Effects
- Pan hi-hats 10-15% left/right for width.
- Add short reverb (decay under 1s) to percussions.
- Use stereo delay (1/8 note) on vocal ad-libs.
- Final Processing
- Limit the master bus at -1dB true peak.
- Apply multiband compression (OTT at 20-30% wet).
- Check mono compatibility for phase issues.
Reference commercial tracks in similar keys to validate balance and tonal quality.