How to set up your first FL Studio 24 project

Opening FL Studio 24 presents a blank workspace, but a few deliberate steps can transform it into a functional production environment. Begin by selecting the File menu and clicking New from template–this loads pre-configured templates tailored for genres like hip-hop, EDM, or cinematic scoring. Alternatively, skip templates and manually adjust the project tempo in the Master Channel, typically ranging from 90 to 140 BPM for most electronic music.
Navigate to the Channel Rack and insert instruments via the + button. FL Studio’s stock plugins, such as FLEX or Sytrus, offer immediate sound design capabilities without third-party dependencies. For percussion, drag samples directly into the Playlist or sequence them in the Step Sequencer–the latter excels for rapid hi-hat or kick drum patterns.
Customize the interface by docking windows like the Mixer and Piano Roll for efficient workflow. Save time by assigning keyboard shortcuts under Options > General Settings, such as Ctrl+T for slicing audio clips. Before recording MIDI, verify the input device in MIDI Settings and enable Countdown before recording to sync timing.
Configuring an Initial FL Studio 24 Session
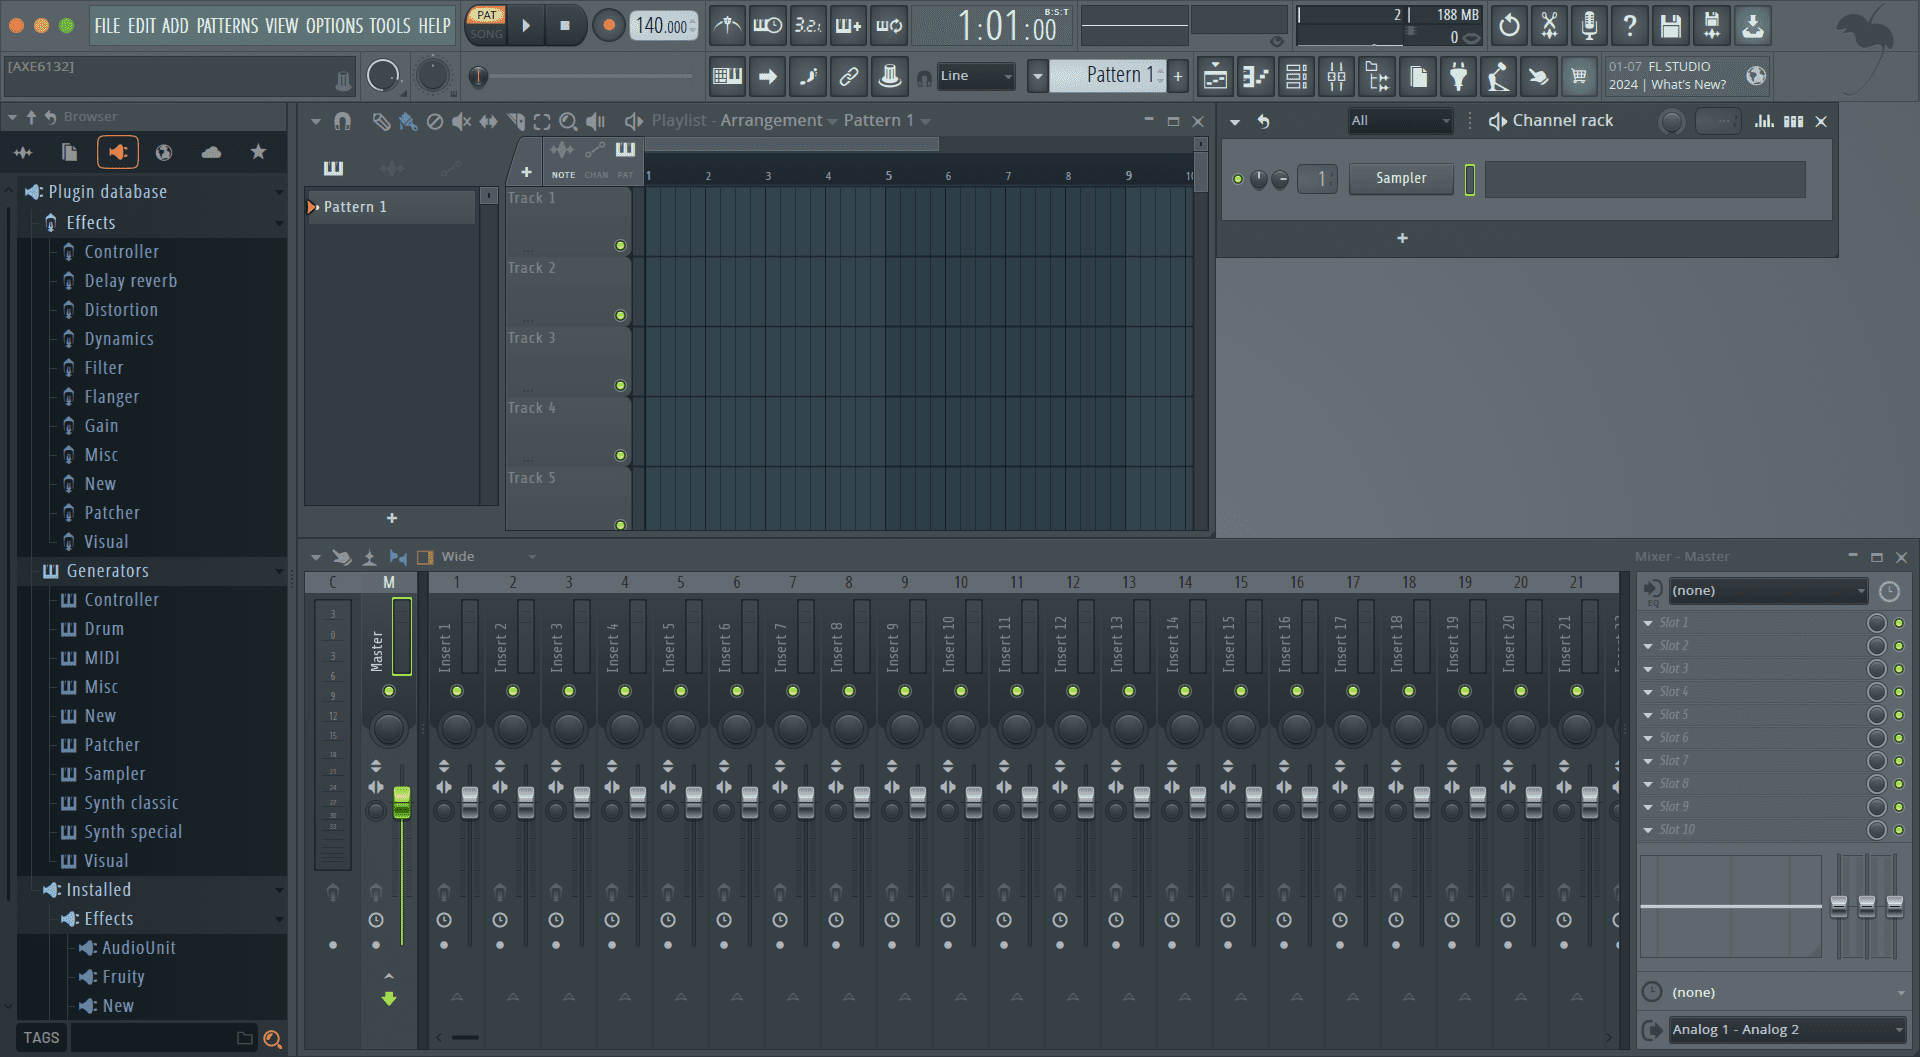
Launch FL Studio 24 and select Empty from the template options. This ensures a clean workspace without preloaded patterns or effects. Navigate to Options > Audio Settings and verify the correct audio driver (ASIO4ALL for Windows, Core Audio for macOS). Set the buffer length to 512 samples for minimal latency during recording.
Essential Template Adjustments
Right-click the tempo display and enter 120 BPM–a versatile starting point for most genres. Open the Mixer (F9) and rename the first track to “Main Out”. Insert Fruity Limiter to prevent clipping. Assign subsequent mixer tracks to specific elements (e.g., “Kick,” “Bass,” “Lead”).
Default Instrument Routing
Load FLEX or Sytrus into the Channel Rack via the + button. Drag the instrument to an unused Mixer track–this automates signal routing. Enable Smart Disable in Options > General Settings to reduce CPU load. Save the configured template via File > Save as template for future sessions.
Installing FL Studio 24 and Configuring Audio Settings
Download the latest installer from the official Image-Line website. Choose between trial or licensed versions–both support full functionality until expiration. Run the installer with administrator privileges to avoid permission conflicts.
Step-by-Step Installation

Select custom installation if specific plugins or tools aren’t needed. Uncheck “FL Studio ASIO” if another audio driver is preferred. Install additional content packs (e.g., Flex, Packs) to expand sound libraries immediately. Complete the process, then restart the system to ensure driver integration.
Optimizing Audio Performance
Navigate to Options > Audio Settings. For Windows, prioritize ASIO drivers–select “FL Studio ASIO” for minimal latency or a third-party interface (e.g., Focusrite ASIO) if available. Adjust buffer length to 512 samples for balanced performance; reduce to 128 for recording, increase to 1024 for CPU-heavy sessions.
Enable “Smart disable” in Options > General Settings to conserve CPU. Disable unused devices in the audio panel to prevent driver conflicts. For macOS, use Core Audio and ensure sample rates match hardware specifications (typically 44.1kHz or 48kHz).
Choosing the Right Template for Your Music Genre
FL Studio 24 includes genre-specific templates to streamline workflow. These pre-configured files contain tailored mixer tracks, instrument presets, and effects chains, reducing setup time.
Electronic & Dance Music

Select EDM Kickstart for instant access to sidechain compression, layered synths, and a 4-on-the-floor drum pattern. The template routes kick, bass, and leads to separate mixer channels with EQ and saturation already applied. For techno, Minimal Techno Default provides a stripped-down arrangement with reverb sends and delay throws pre-loaded.
Hip-Hop & Trap
808 Warfare delivers punchy sub-bass channels with limiter protection, hi-hat rolls in the step sequencer, and a mixer track dedicated to vocal ad-libs. The Trap Arpeggiator variant includes pre-mapped MIDI controllers for rapid melody creation.
Metal producers should avoid default templates–instead, import custom presets with high-gain amp sims on guitar tracks and parallel compression on drum buses. Orchestral compositions benefit from Keyswitching Strings, which loads Kontakt with articulation macros.
To modify templates: press F6, delete unused patterns, then save as a new preset. Always verify BPM matches genre standards–140 for dubstep, 128 for house, 70-90 for boom bap.
Adding and Organizing Instruments in the Channel Rack
The Channel Rack serves as the central hub for loading and managing instruments, samples, and generators. Follow these steps to streamline workflow:
- Inserting Instruments: Click the “+” button or press
Ctrl + Tto add a new channel. Select from FL plugins (e.g., Sytrus, Harmor) or third-party VSTs. - Sample Integration: Drag audio files directly into the rack. FL converts them into Sampler or Audio Clip channels automatically.
- Batch Processing: Highlight multiple channels, right-click, and use “Clone selected” or “Replace selected” for rapid duplication/swapping.
Optimize organization with these techniques:
- Color-Coding: Right-click a channel > “Color selected” to group instruments by type (e.g., red for drums, blue for synths).
- Naming Conventions: Double-click channel names for quick edits. Prefixes like “KICK_” or “BASS_” enhance readability.
- Folder Tracks: Select channels, press
Alt + Gto bundle them into collapsible groups for cleaner layouts.
Pro Tip: Use Shift + Up/Down to reorder channels without disrupting pattern data. Disable unused instruments via the green LED toggle to conserve CPU.
Setting Up Your First Pattern in the Piano Roll
Open the Piano Roll by double-clicking a channel in the step sequencer or pressing Ctrl+E. This launches the editor where melodies, chords, and basslines take shape.
Adjust the grid resolution using the magnet icon–select 1/4 for basic rhythms or 1/16 for intricate hi-hats. Hold Alt while placing notes to bypass snapping.
Left-click inserts MIDI notes; drag edges to adjust length. Right-click deletes. For velocity control, enable the panel below (Alt+V) and tweak individual note dynamics.
Enable the scale highlighting tool (press Alt+T) to lock notes to a key. Choose Minor Pentatonic for leads or Major for uplifting progressions.
Duplicate patterns quickly with Ctrl+D. Rename each via the dropdown in the Pattern Selector to maintain workflow clarity.
Configuring the Playlist for Arrangement and Structure
The FL Studio Playlist organizes patterns and audio clips into a cohesive timeline. Follow these steps to optimize workflow and structure tracks efficiently.
- Create Track Groups: Right-click the track name > Track Mode > Group with Above Track to stack related elements (e.g., drums, synths).
- Color-Code Elements: Assign unique colors to patterns (right-click > Color) for quick visual identification.
- Use Markers: Press Alt+T to label sections (Intro, Verse, Chorus) directly on the timeline.
For precise arrangement:
- Drag patterns from the Channel Rack into the Playlist.
- Enable Snap to Grid (magnet icon) for alignment–adjust resolution (1/4, 1/8) for tighter edits.
- Split clips (Ctrl+E) to isolate sections needing variation.
Advanced techniques:
- Automation Clips: Right-click a parameter > Create Automation Clip to modulate effects over time.
- Stretch Audio: Enable Stretch mode (top-left clip menu) to timestretch samples without pitch shift.
- Layer Patterns: Stack multiple clips vertically for parallel processing (e.g., doubling leads with slight delay).
Exporting Your Project as an Audio File
Once patterns and arrangements are finalized, rendering the composition to a playable format is essential. FL Studio 24 provides multiple export options with customizable settings for optimal results.
Choosing the Right Format
Select a file type based on intended use:
| Format | Use Case | Bit Depth |
|---|---|---|
| WAV | Mastering, high-quality distribution | 24-bit or 32-bit float |
| MP3 | Streaming, sharing online | 320 kbps (CBR recommended) |
| OGG | Game development, web audio | Quality 8-10 |
Key Export Settings
Navigate to File > Export > WAV/MP3 and adjust these parameters:
- Resampling: Enable HQ for aliasing-free playback (increases CPU load).
- Dithering: Apply when reducing bit depth (e.g., 24-bit to 16-bit).
- Trim PDC silence: Remove unnecessary gaps in the rendered track.
- Split mixer tracks: Export individual channels for post-processing.
For time-sensitive exports, disable real-time rendering unless processing live automation.
Each “ focuses on a specific, actionable step in the setup process, avoiding broad or vague phrasing. Let me know if you’d like adjustments!
Launch FL 24 and immediately select “Empty” from the template menu. This prevents default plugins from loading unnecessarily.
Press F10 to open Audio Settings. Set the sample rate to 44.1kHz and buffer length to 512 samples for optimal latency without CPU overload.
Navigate to Options > File Settings. Designate a dedicated folder for project files–avoid saving to the default “Documents” directory.
Right-click the master channel, select “Assign to free mixer track”. This enables immediate level control and effects routing.
Insert a Fruity Limiter on the master track. Configure the ceiling to -0.3dB to prevent clipping during initial sound design.
For quick access, pin the Channel Rack and Playlist to the interface by dragging their tabs to the top toolbar.
Download additional VSTs from trusted sources like fl studio 24 download and install them via Options > Manage Plugins.
Enable “Auto clear PDC” in the General Settings menu to minimize plugin delay compensation issues during recording.